Kase Buyers Guide: Infrared filters
Kase Buyers Guide: Infrared filters
Discover the world of Infrared.
At first this alien light is baffling but once hooked in to the surreal colours, infrared photography can be highly rewarding and offer some unique opportunities.
There is two options to pursue within Infrared photography. Filters or Camera Conversion, the latter involves removing the IR Blocking Filter, Low Pass Filter or Hot Mirror filter installed on most modern cameras, and installing a filter in replacement. Allow the camera sensor to capture the entire light spectrum.
Full spectrum as its often referred too, allows the camera to ‘see’ more light. This being the Infrared light waves 590nm-910nm. In order to capture the chosen light waves, you install the appropriate filter. Ultra Violet, Infrared or Visible Light.
Camera conversions can be expensive and the after result means you can only capture the chosen wave length after. So, unless you are a diehard fan and must have an infrared camera at all times. This isn’t a viable option for those starting out in this genre of photography, or only dabble with infrared light from time-to-time.
This is where an Infrared filter which can be screwed on to the front of your lens thread, or as a clip-in filter come in to there own.
Infrared filters start from 590nm through to 910nm. The standard infrared filter, the do it all is the 720nm which is the most popular amongst those working in infrared photography.
Infrared filter options
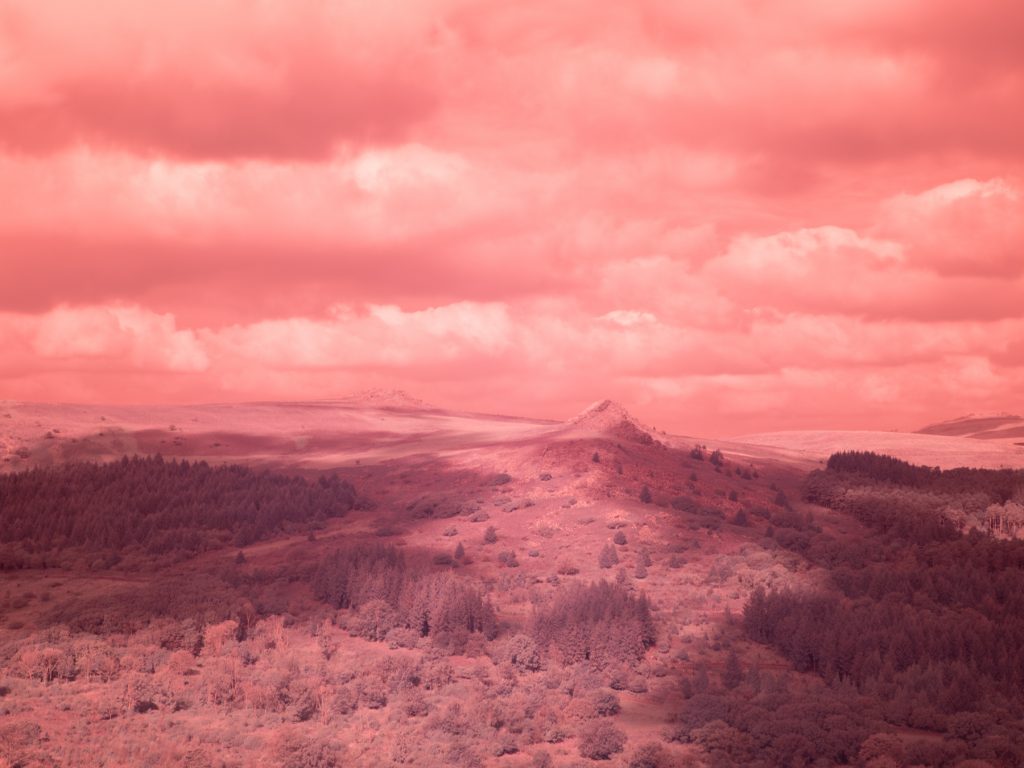
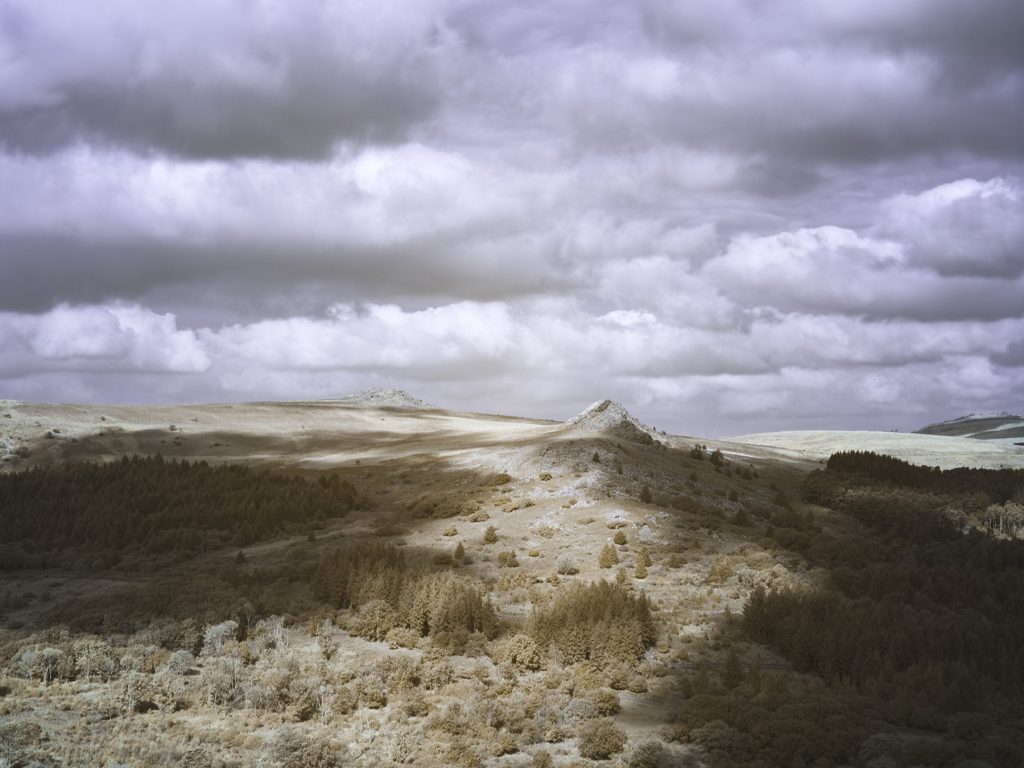
590nm – Extreme Colour IR filter.
This filter allows you to capture a large amount of colour as well as IR spectrum to be captured in camera. This is popular with photographers shooting in colour or converting to Black and White, which can be simply achieved by desaturating the photo.
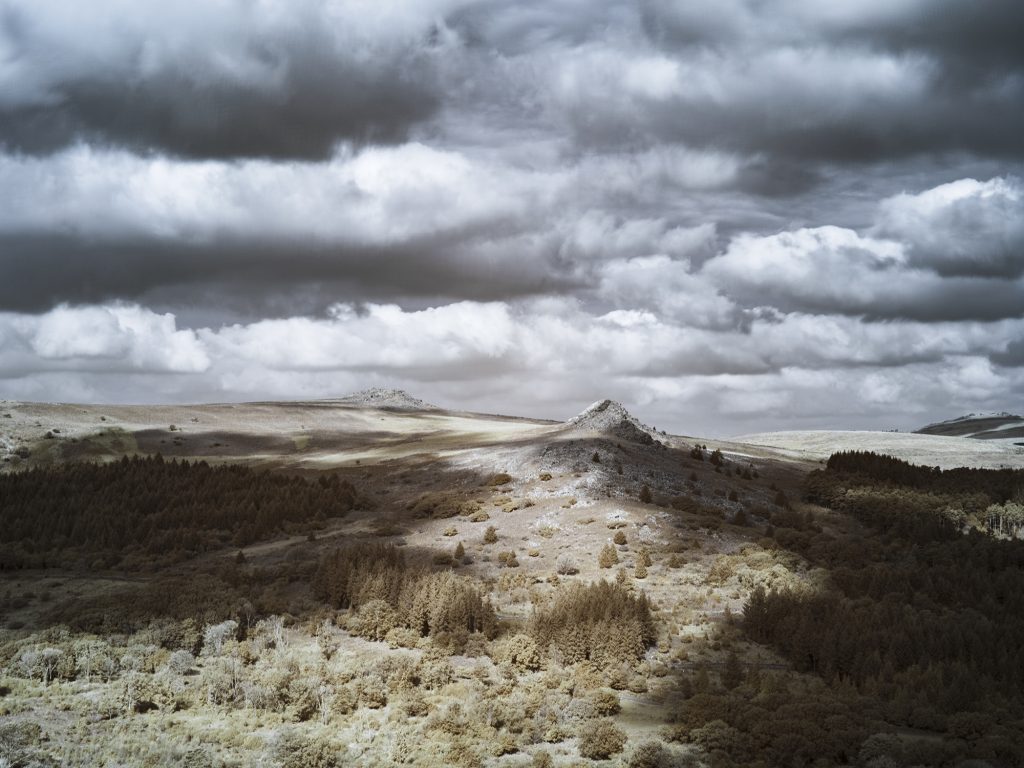
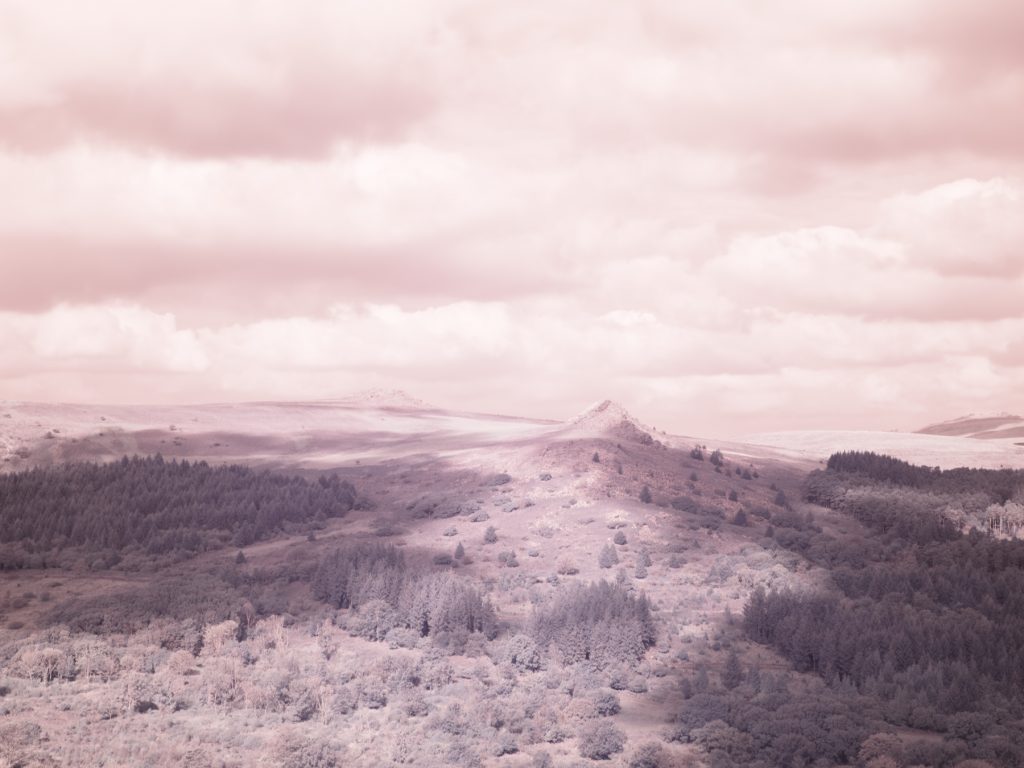
670nm – Amplified Colour IR filter.
This filter will allow you to shoot more of the infrared light and retain some of the visible light. The tones are a little more muted in comparison to the 590nm filters. Similar to this filter, is popular for both colour and monochromatic IR photos.
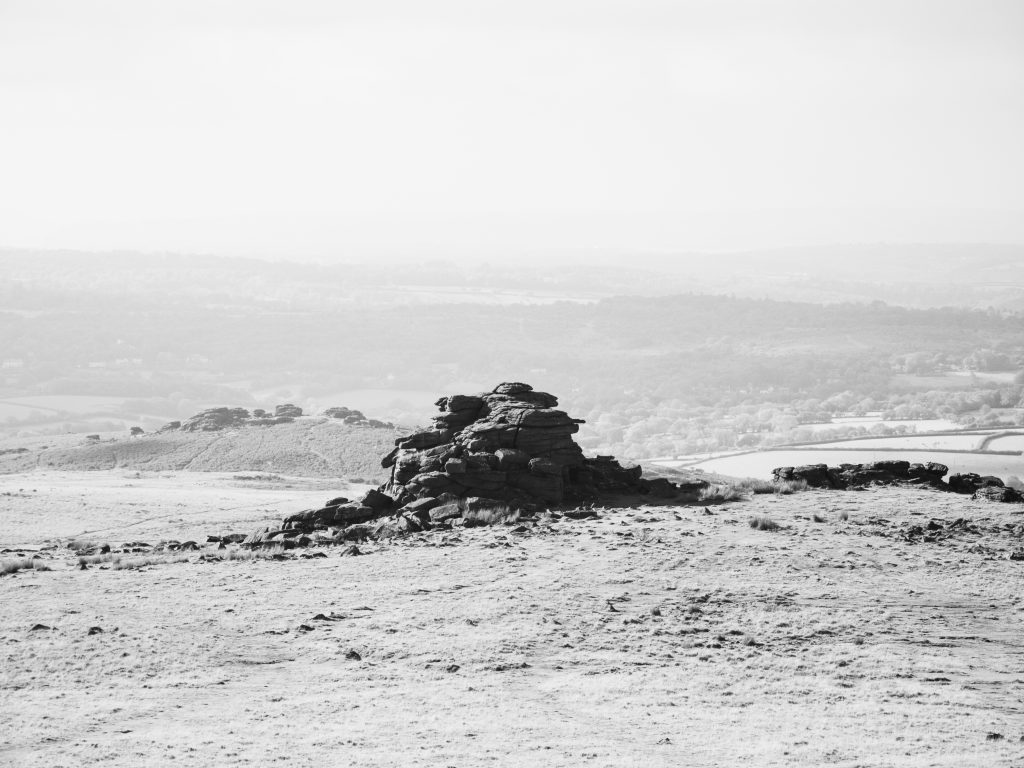
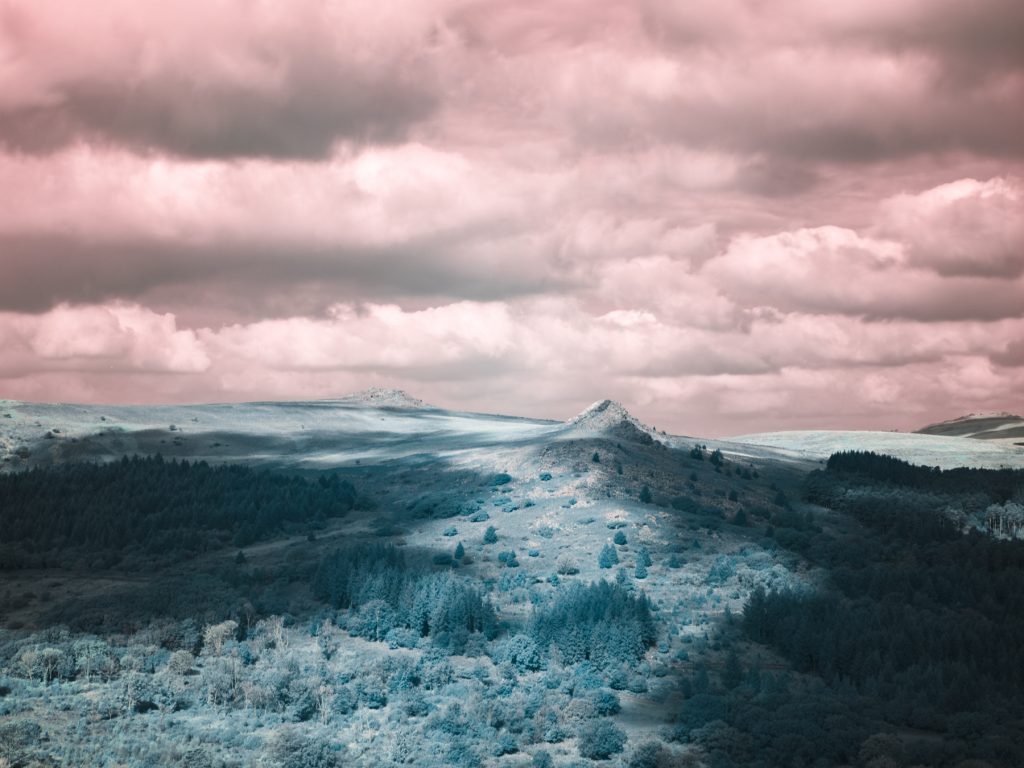
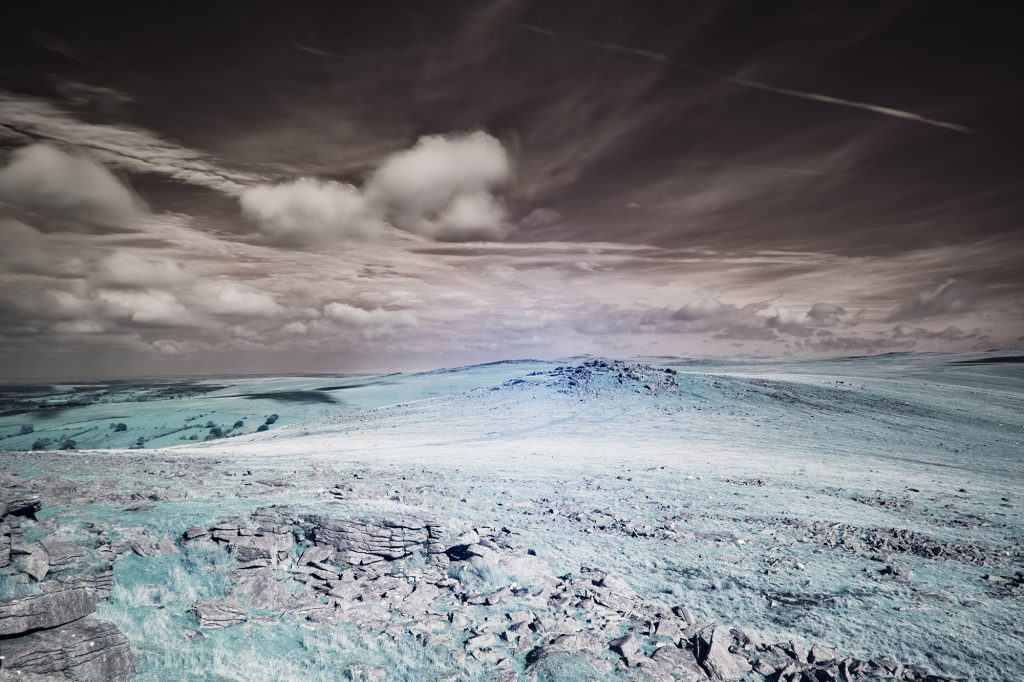
720nm – The Standard IR filter.
By standard, it is by no means inadequate. Standard is the norm, the go too and the true IR filter, allowing the user to capture all infrared light with a small among of visible light. This filter is fantastic for Monochromatic photos or muted colour infrared photos.
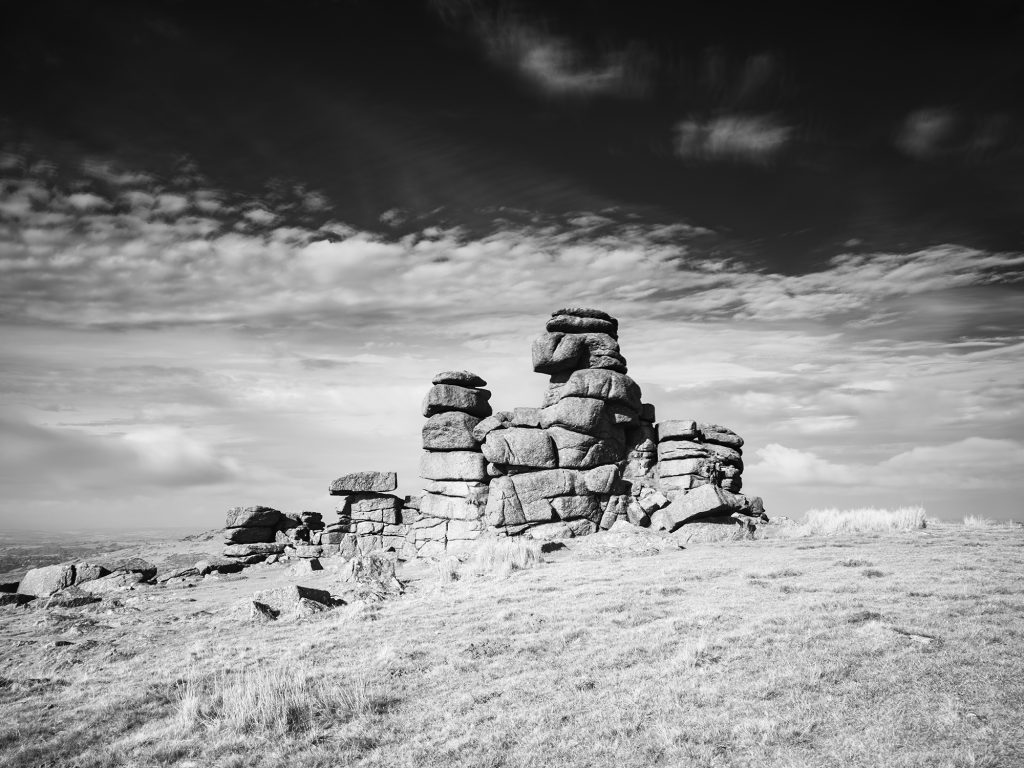
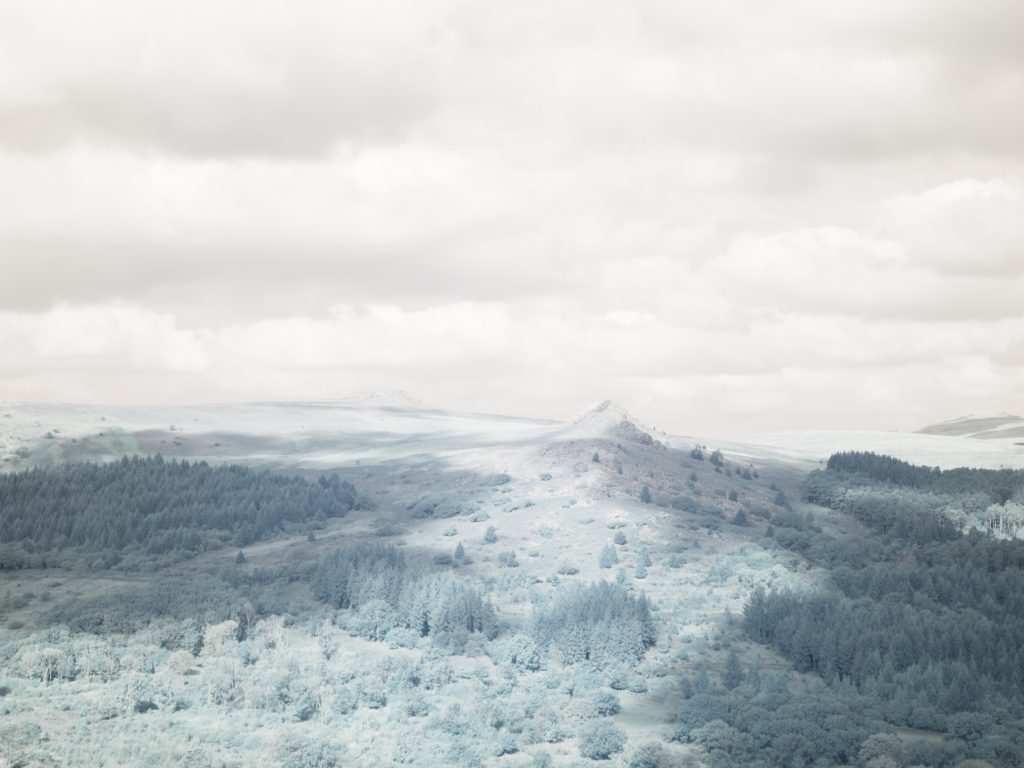
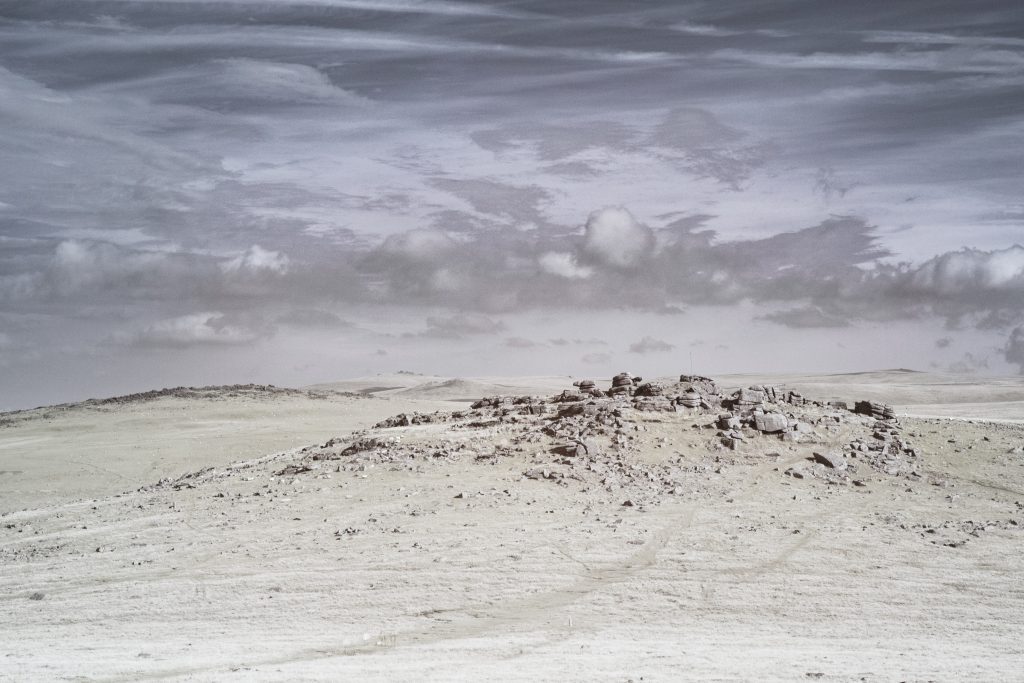
830nm plus – The Black and White IR filter.
This is where the visible light won’t reach your sensor and the camera will only only infrared light in. This is the perfect filter for Monochrome only and will render deep, rich black and white photos with little to no post processing. This is for the purists of Infrared photography.
Working with Infrared filters isn’t as simple as screwing on to the front of your lens and shooting much like a Neutral Density filter. Some preparation is required both in camera and post processing.
Is my camera suitable?
Most modern cameras (Mirrorless and DSLR) now have IR blocking filters and reduce sensitivity to infrared light.
The quickest way to test if your camera body is suitable and can see infrared light is to test it with your TV remote. You do not need to have an Infrared filter installed at this point.
Point the TV remote in to your lens and push a button on the remote. If you can see a red light, your sensor can pick up infrared light. The brighter the red light, the more sensative your camera is to infrared light, as a result will have shorter exposure times using an infrared filter.
If your camera cannot see the red light or its very faint, you will have more processing and difficulties shooting this wave length, or restricted to shooting Monochromatic Infrared photos only.
Processing your infrared photos
Switch your camera to Manual and shot in RAW.
You will need to control everything yourself. In some situations, you may need to manually focus too.
Install the filter and select White Balance.
You will need to create a custom White Balance value. Typically between 2,000-2,500 to cool down the exposure.
The 720nm IR Filter (IR72) is equivalent to 5/6-stops of light reduction. So, to capture no movement in trees, grass and animals. You will need a bright sunny day for the optimum exposure times.
Use a tripod. As you will be reducing your available light when using this sensor, you will find exposure times are more challenging to shoot handheld as a result.
Shooting throughout the day, around midday is often the best times with an IR72 filter.
Extreme light opportunities – Sunrise and Sunset are not the ideal situations as available light is low.
Experiment with your lens. Some lens are better suited with the IR72 filter installed.
You may see ghosting or hotspots occur with longer exposure times, some zoom lens, apertures and focal points.
When this happens it is near impossible to fix the hot spot in post processing.
Don’t be alarmed your photo is pale red. This is how you want it to look using the 720nm filter.
When you are ready and happy with your photos. You are now ready to jump in to Post Processing.
Monochromic conversion is the easiest process, simply Desaturate to -100. Do not use the B&W button as this alters your colour profile and will result in extra work to recover the lost white foliage.
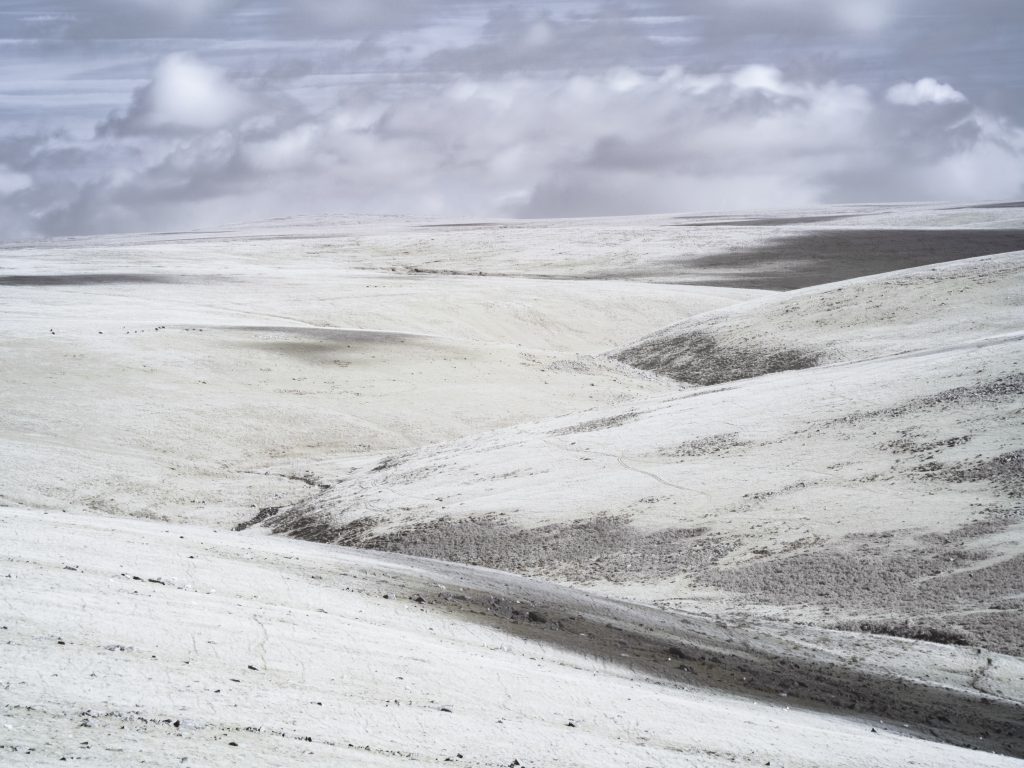
Adjust your Blacks, Whites and Contrast as shooting in infrared can reduce contrast. Remember you are looking for deep and rich blacks in the shadows and sky and fluffy, glowing white in the foliage. As if it were snow.
Colour processing is a little more difficult and requires some additional steps.
Processing colour infrared photos
For this, you will need to use Adobe’s DNG Profile Editor.
This will allow you to make a Custom Profile, allow you to cool the photo down further. Remember your white balance has already been bottomed out at 2,000-2,500 on the cooling scale and cannot be shifted futher to compensate the red hues.
Install your new Colour Profile (name it something obvious like Infrared) and select your new profile.
Select the White Balance Picker and select a patch of white in the foliage. This will auto correct your white balance and render the colours in Yellowish/Orange and Blue.
Using the Hue and Saturation Tools you can adjust to make the foliage Yellow, Red or whatever your desired effect you wish. Don’t forget to adjust your Contrast, Blacks, Whites and Dehaze tool.
Remember, if you are struggling with the filter expericing irregularities such as hot spots and ghosting. It’s not the filter, its your lens or settings. Try a different lens combination or adjusting your settings.
Often, the older the lens, the better! Most modern lens have coatings on one or multiple pieces of glass in construction which can cause artefacts in shooting. That’s not to say modern lens cannot do the job. There is a degree of trial and error involved to find the sweet spot that works.
Zoom lens typically are the worst offenders. Particular focal points can be a problematic, typically at the wider focal lengths. To confuse matters further, some Prime lens can suffer these same artefacts too, typically again, the wider Prime Lens.
Understanding your camera system is crucial and experimentation is highly recommended in finding what lens, setting, filter combination works best.
Enjoy and experiment in the wonderful and surreal world of infrared photography.