Sony Alpha Clip-In Filters
Kase Sony Alpha Clip-In Filters
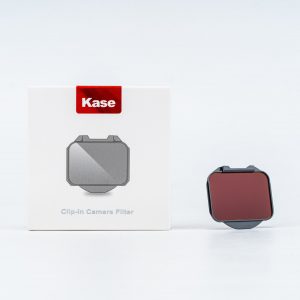
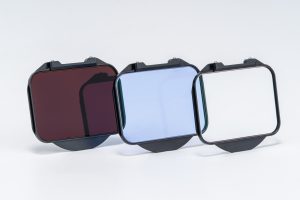
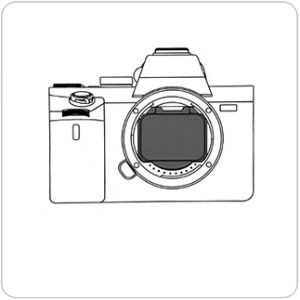
The NEW Kase Sony Alpha Clip-in filters are an innovative and clever idea to allow you to use filters on any Sony Alpha Camera & Lens combination*, no matter how wide. Weighing in at only 3.3 grams per filter, these compact filters are made from B270 Optical glass and have our normal high quality nano coatings, so you know you can be assured of your image quality.
Installation is simple**, and once installed the filters will give you extra protection of your camera sensor when you swap or change lenses out in the field.
Neutral Density filters are your perfect companion when you want to reduce the amount of light captured in your photography. This can be used to great effect to increase your exposure times for your images, allowing for smooth water or light trails for example. Long exposure photography can also reduce busy streets to empty ones or be used to capture movement in creative ways. ND filters are available in different strengths for different effects.
Key Features
- Outstanding Clarity – B270 Optical Glass
- Lightweight and Compact – Only 3.3g per filter.
- Easy to use – Simple Installation
- Added Protection – Helps Protect your sensor
Compatibility
- *Sony A9 II, A9, A7R IV, A7R III, A7R II, A7R, A7S III, A7S II, A7S, A7 III, A7 II, A7 (whilst we are not currently aware of any lens restrictions, we can not guarantee all lenses will be compatible)
Advisories
- Using clip-in filters will adjust your focal distance and focusing system on your lens. This will not cause you any issues in manual mode if you focus via screen or LCD or auto-focus modes. If however you use the focal distance markings on your lens, they will be different. For example infinity markings will not be accurate on lenses, and you will need to focus manually to account for the adjustment.
Installation
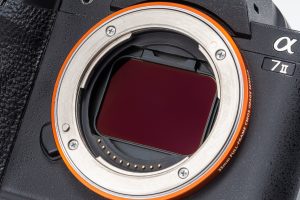
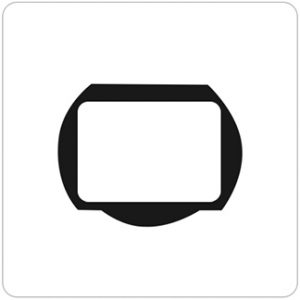
| Step 1:
When you insert the filter make sure you have the Kase lettering facing towards the camera. |
 |
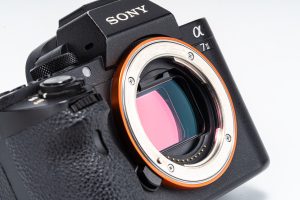
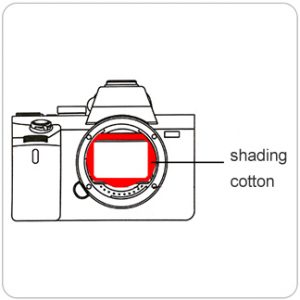
Step 2:
Before you insert the filter please make sure that you protect the open camera sensor, please do so in a clean and wind protected environment. |
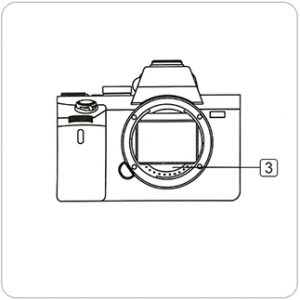 |
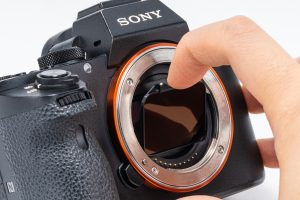
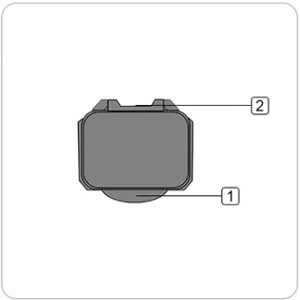
| Step 3:
Insert the filter by placing the tab (1) into slot (3) on the camera at a 45 degree angle. |
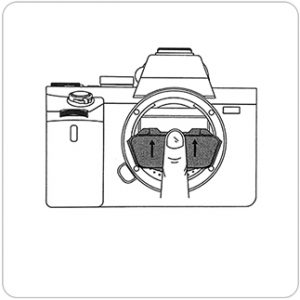 |
Step 4:
Push the filter into place until it securely clicks. |
 |
In normal use you do not need to fit the cotton gasket, but if you are planning on doing light sensitive long exposures using the ND filters then the extra gasket will help prevent light leak.
| Step 1:
Supplied is a gasket, this will help provide a light seal for Long exposure work. This is placed behind the Clip-In filters. |
 |
Step 2:
Carefully insert the gasket as show here, extreme care is taken when working so close with your camera sensor. |
 |
 |
** Before installing, please make sure you are fully aware of any risks/issue that might arise if you do not protect your sensor on installation and use. Please make sure that you are not going to invalidate your warranty, and that you fully understand that you take full responsibility for using and installing these filters. |